
It's the Simple Things
|
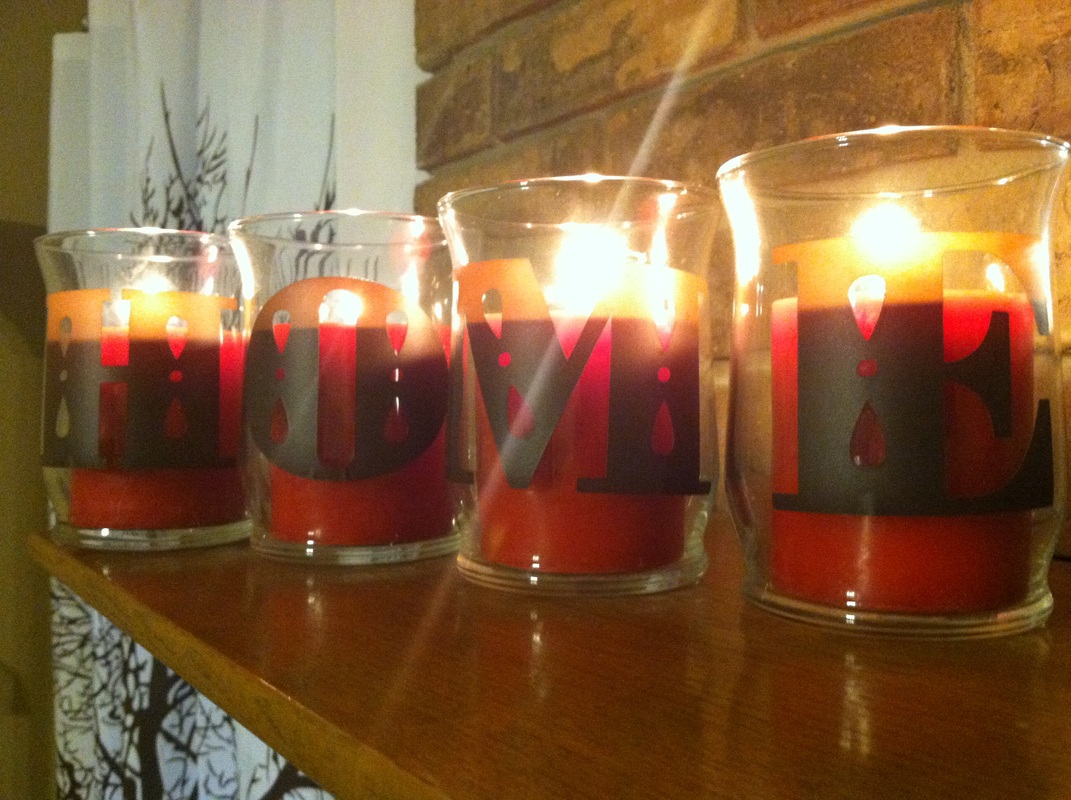
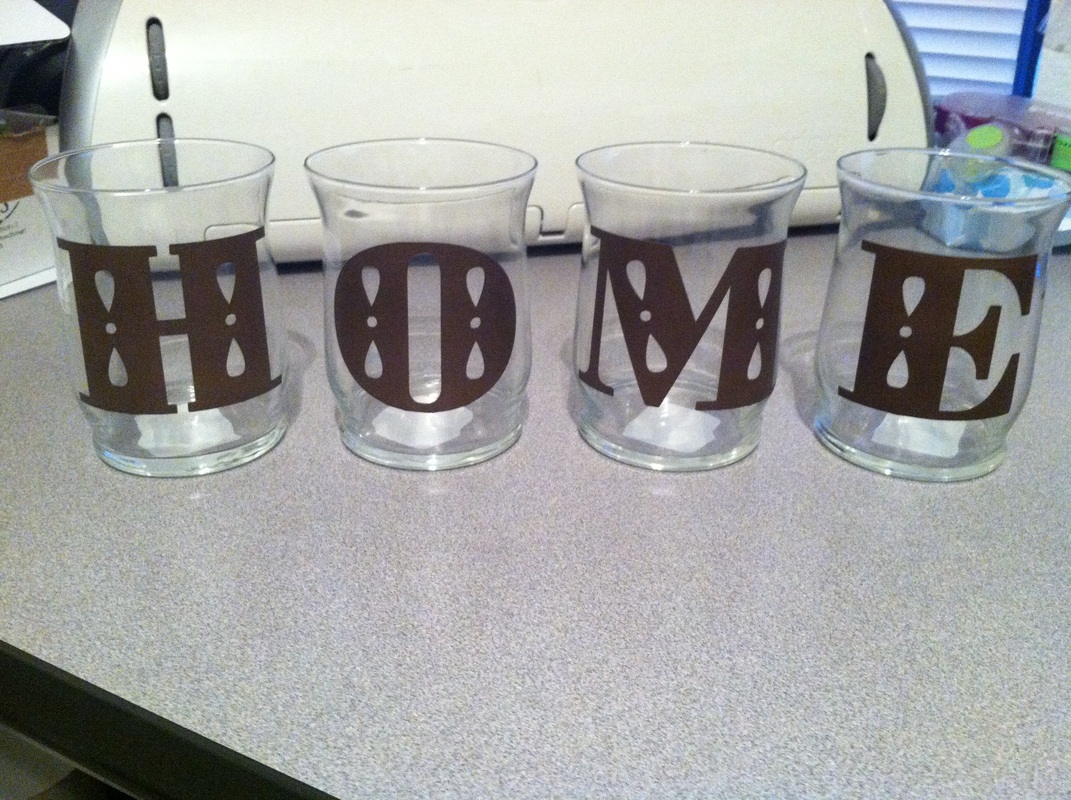
Hello everyone, it's challenge time over at Fantabulous Cricut. This weeks challenge is "Fall is in the air". You are challenged to create a fall themed project, using at least one Cricut cut. Ever since our vinyl university, I have been hooked on working with vinyl, and visit the dollar store on a regular basis, looking for things that I can use. I found these great candle holders for $1.00 each at the Dollar Tree, and I bought the apple scented candles there too. I used pieces of leftover vinyl from another project, so this set cost me a total of $8.00 plus tax. I am thinking of making some more to give away as Christmas gifts :) 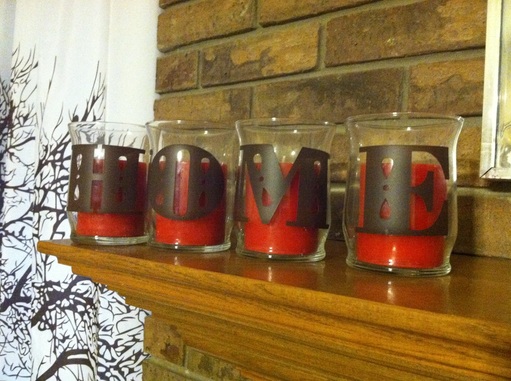 I wish I could take all the credit for these, but I got the idea, from a photographer friends site. They used tea cups with the word "LOVE" spelled out as a part of a bridal portrait session. I used the Cindy Loo, font layer to cut the letters, then it was a simple of putting them on the candle holders. A couple of them tried to bubble up at first, but I just kept pushing the air out and smoothing it, until they laid down onto the glass. I love how the red of the candles peak through the letters. They are even more beautiful when they are lit. I have included some pictures, but they don't do it justice.
5 Comments
 It's challenge time over at the Fantabulous Cricut Challenge Blog. This week, the challenge is ABC's and 123's, make a project using at least one letter or number cut from any Cricut cartridge. I actually made a lot of different projects, and they came together really well. Head on over to FCCB and link up your project for a chance to win a prize or to be named as one of the Design Team's Top 5.
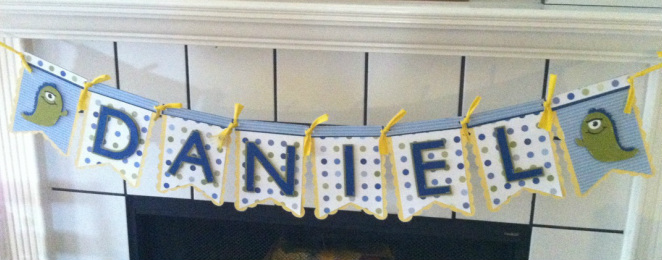
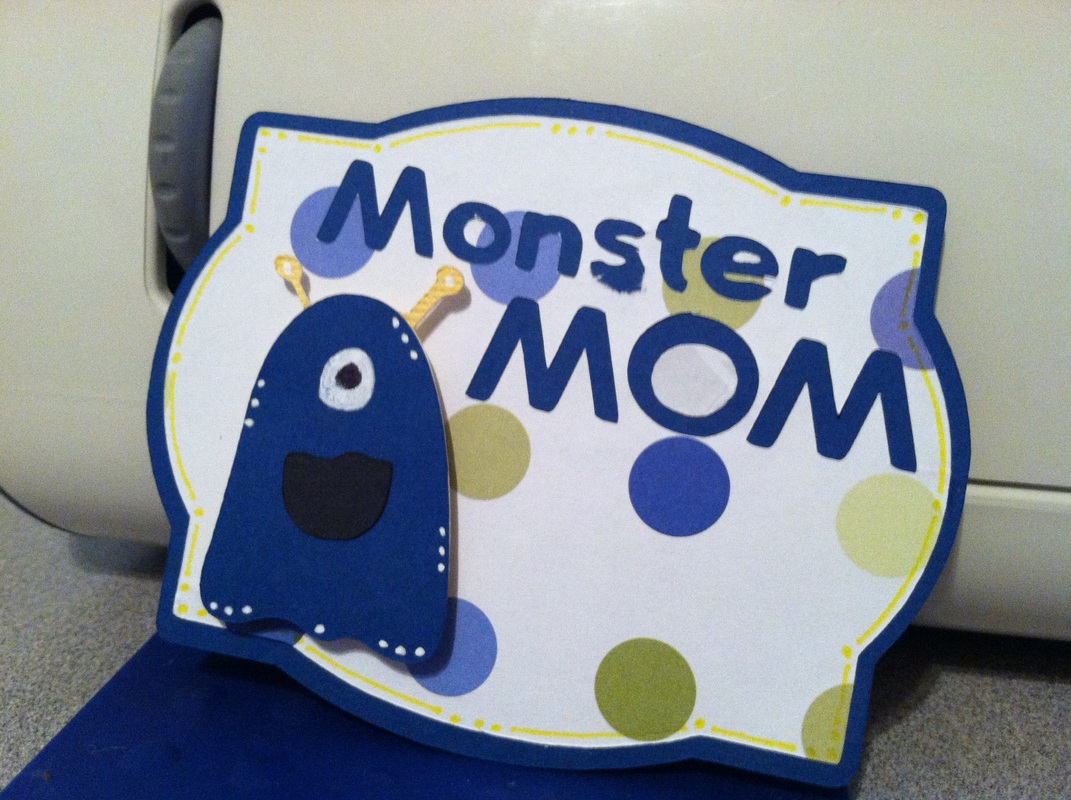
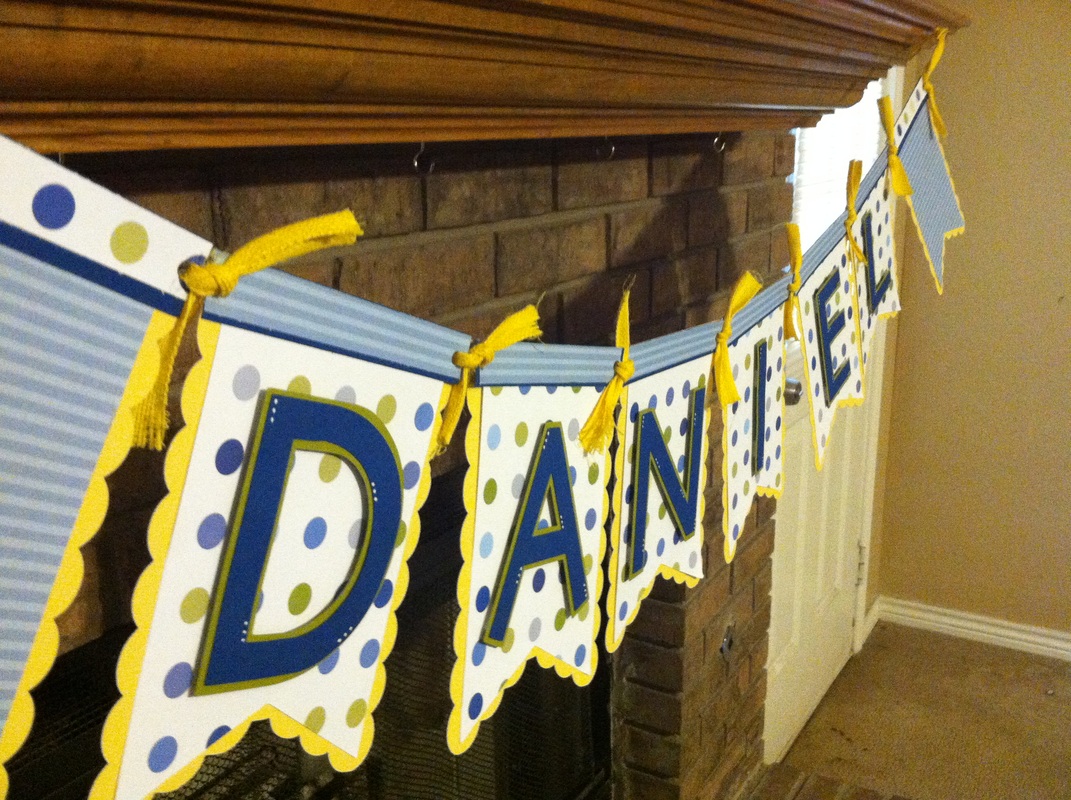
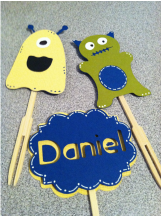
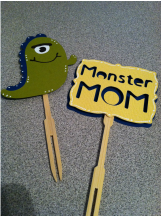
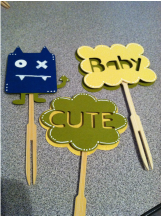
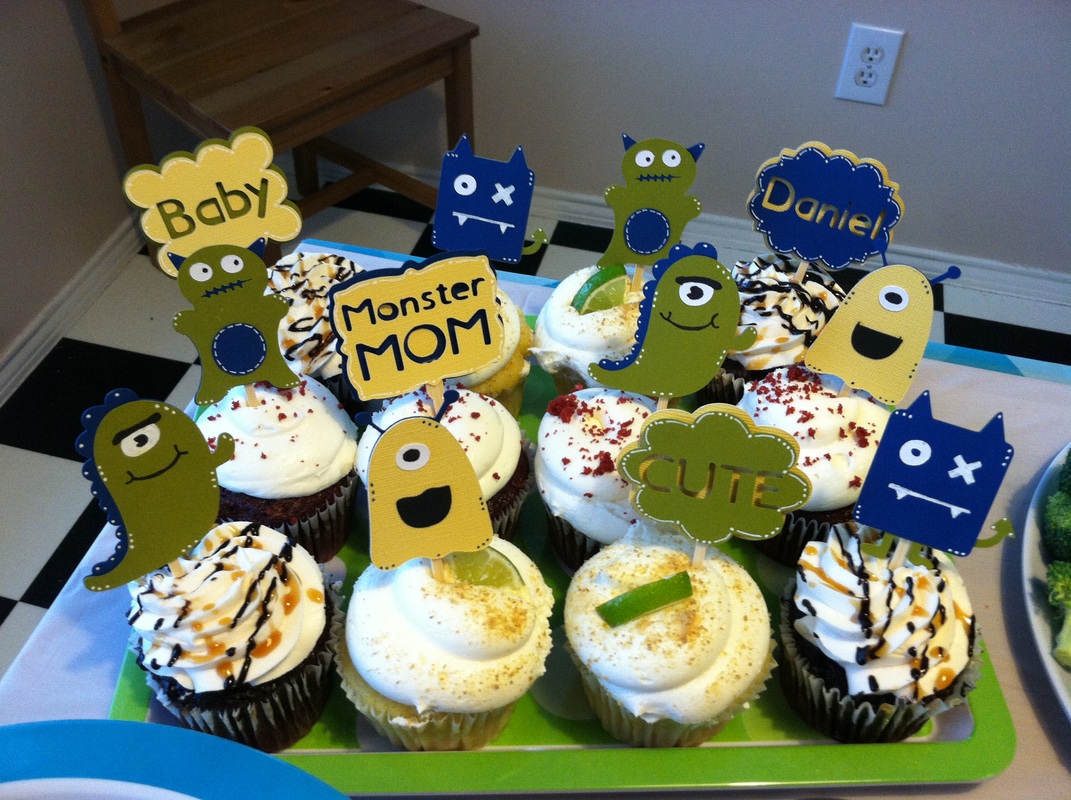
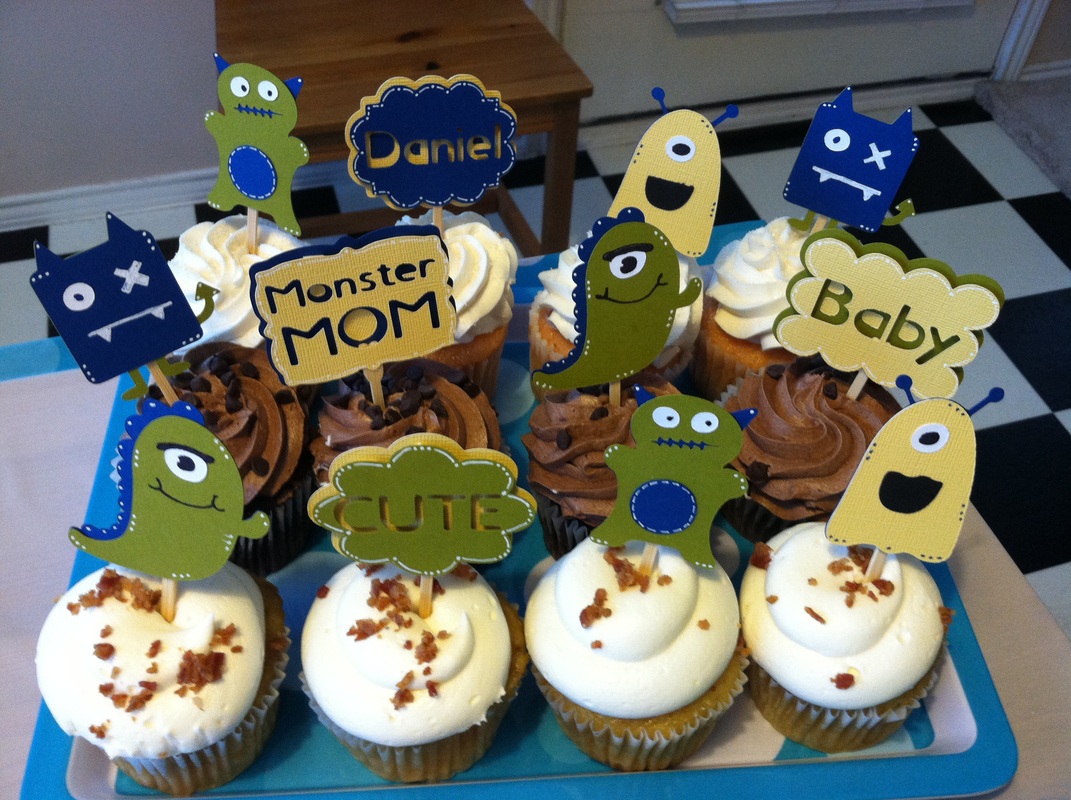
My friend and co-worker, Kate is due to have her baby boy in just a couple of weeks now. We are all so excited to meet Baby Daniel. We through her a baby shower about a month ago, and I volunteered to make all the shower decorations. Her nursery is "Little Monsters" and I have to say it is super cute. This really just gave me a reason to purchase the Bump in the Night Cartridge. Which is one that I have wanted for a long time, but didn't hadn't had a reason to buy it. I made the banner, you see above, along with cupcake toppers and a "Monster Mom" pin for Kate to wear during the shower. I love how well it all turned out. Everything was made using coordinating papers and cardstock, foam tape, and a white gelly roll pin.
Materials Used for Banner: Cricut: Pretty Pennants, Sans Serf, Bump in the Night Paper: Tim Holtz Distress Collection, DCWV Dots, Paper Pizazz Soft Tints Collections, & Recollections Cardstock Other: White Gelly Roll Pen, Foam Tape, Black Sharpie, and Yellow Ribbon from JoAnn's clearance bin Materials Used for Monster Mom Pin: Cricut: Elegant Edges, Bump in the Night, Sans Serf Paper: DCWV Dots & Recollections Cardstock Other: Foam Tape, White Gelly Roll Pen Materials Used for Cupcake Toppers: Cricut: Bump in the Night, Sans Serf, Elegant Edges Paper: Tim Holtz Distress Collection, Paper Pizazz Soft Tints Collection, & Recollections Cardstock Other: White Gelly Roll Pen, Bamboo Forks, and Foam Tape
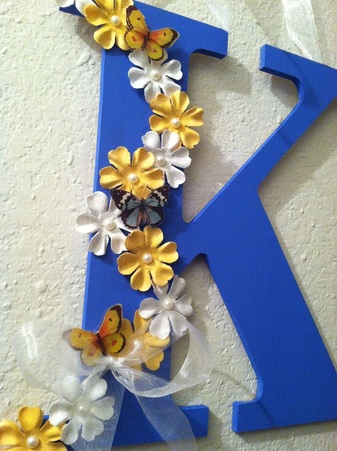
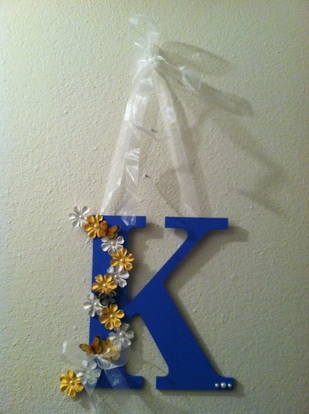 I had this small blank spot on the wall in our hallway that, for the past year and a half, I haven't been able to decide what to put there. Today, I felt a bit creative, and decided to make something to put there. I had bought this wood letter "K" from Hobby Lobby, maybe 6 months ago, so I thought this would be perfect.
First, I covered the wood with blue paper and paint, as that is the color my husband and son both wanted, then, after it was dry, I attached the paper flowers and butterflies. I added pearl centers to each of the flowers to give them a polished look. I added, a pop dot to the back of each of the butterflies, they just needed a little lift. I finished it off with a sheer ribbon. I wanted to use a sheer ribbon, so that it would look light and fun. This was a great way to spend a lazy afternoon. Materials Used: Wood letter K - Hobby Lobby Cricut - Chip Décor at Hobby Lobby Paper Flowers - Michaels Pearls - Michaels Ribbon - Michaels Butterflies - Recollections Dimensional Stickers Challenges: Fantabulous Cricut Challenge Blog - 3D project Cupcake Inspirations - Floral Bouquet Scrappy Mel - Spring is in Bloom (Flowers) Exploring Cricut - April Showers bring May Flowers 
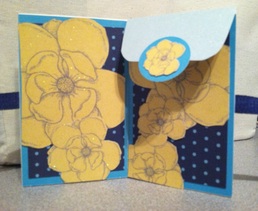 I made this cute gift card holder, and it was super easy. I think it took me about 45 min from start to finish. I started with a standard envelope, folded in half. Next I cut the flap at the fold mark, and attached the top portion of the flap to the back. The bottom will be left open so that the gift card can be put in. Next, I attached a peice of ribbon to the back of the envelope, so that I could tie it together at the bottom and kep the gift card holder closed.
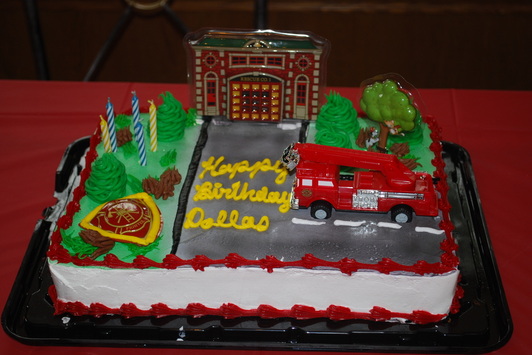
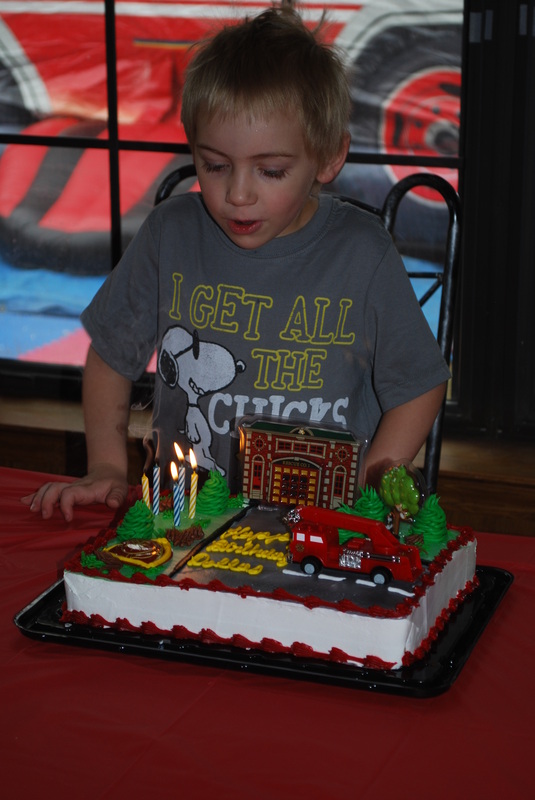
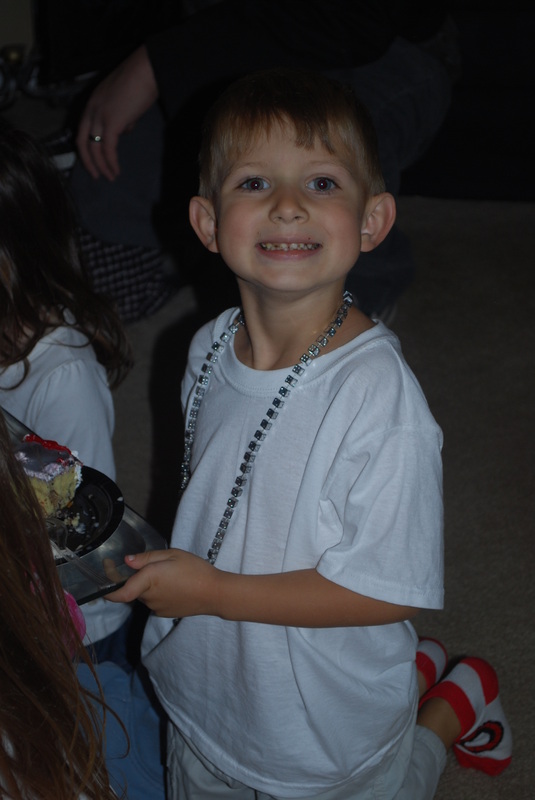
The next step was easy, find pretty pattern paper and cut to size. Next I cut out the phrase "a bright future" using my cricut, along with the starburst and attached it to the front. Then I cut the pretty yellow flowers out from pattern paper and attached them to the inside. To finish it off, I punched out a circle, attached a yellow flower and attached it to the flap. I wanted to make sure that you knew to lift it, to get your gift. The best thing about this project, is that it can double as a card as well. You could, leave the top part of the inside blank to write a short note or phrase. Materials Used: Paper: Colorbok - Pearlescent paper in Earth Tones, Recollections Everyday Moments, and DCWV the Cardstock Stack Cricut: Phrases Ribbon: Blue - Dashes, Dots and Checks by Michaels Challenge entered: Bitten by the Bug 2 - Make a gift bag or gift tag We celebrated my little man's 5th birthday, yesterday, with our family and friends, which we are so blessed to have. Even though not everyone was able to attend, we had a great time with those who were there. Dallas decided that he wanted to have a fire fighter birthday party, which was easy enough to do. 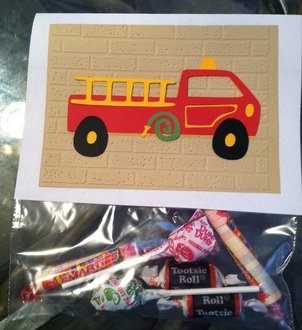
I wanted to give the kids something small to take home as a thank you for coming to the party. I made these little candy bags for each one, and the best part was that they only cost me around $4.00 total for all of them, and that was just to buy the candy. I had the ziplock bags in my kitchen and the paper came from my scrapbook room. Materials Used: Firetruck: Cricut - Beep Beep Brickwall: Tan cardstock, Cuttlebug, and Bricks embossing folder by the Paper Studio
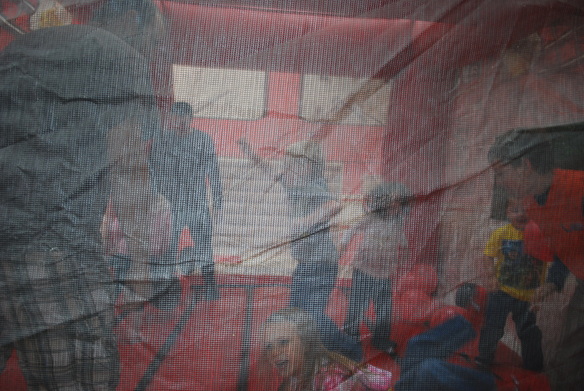
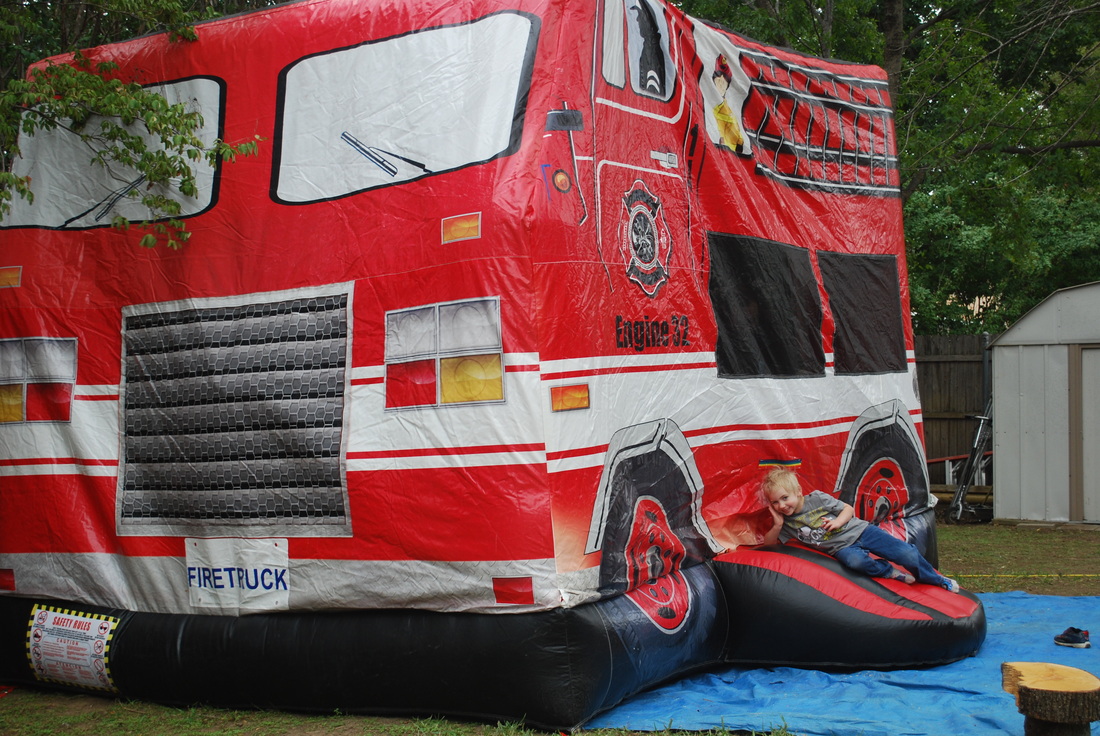
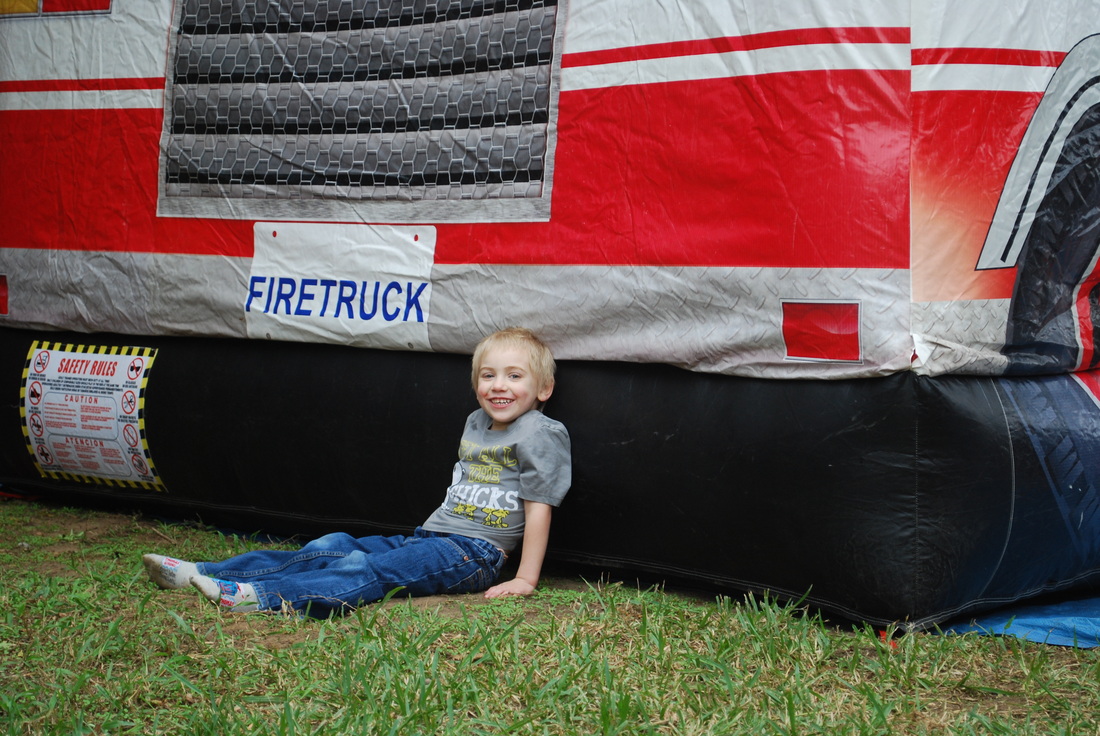
The big, firetruck bounce house was a lot of fun. Thank you to Joe's Jump in Denton. I would use them again, they delivered early and picked up on time, and were in and out in less than 15 min each time. They were very nice, good priced, and professional.
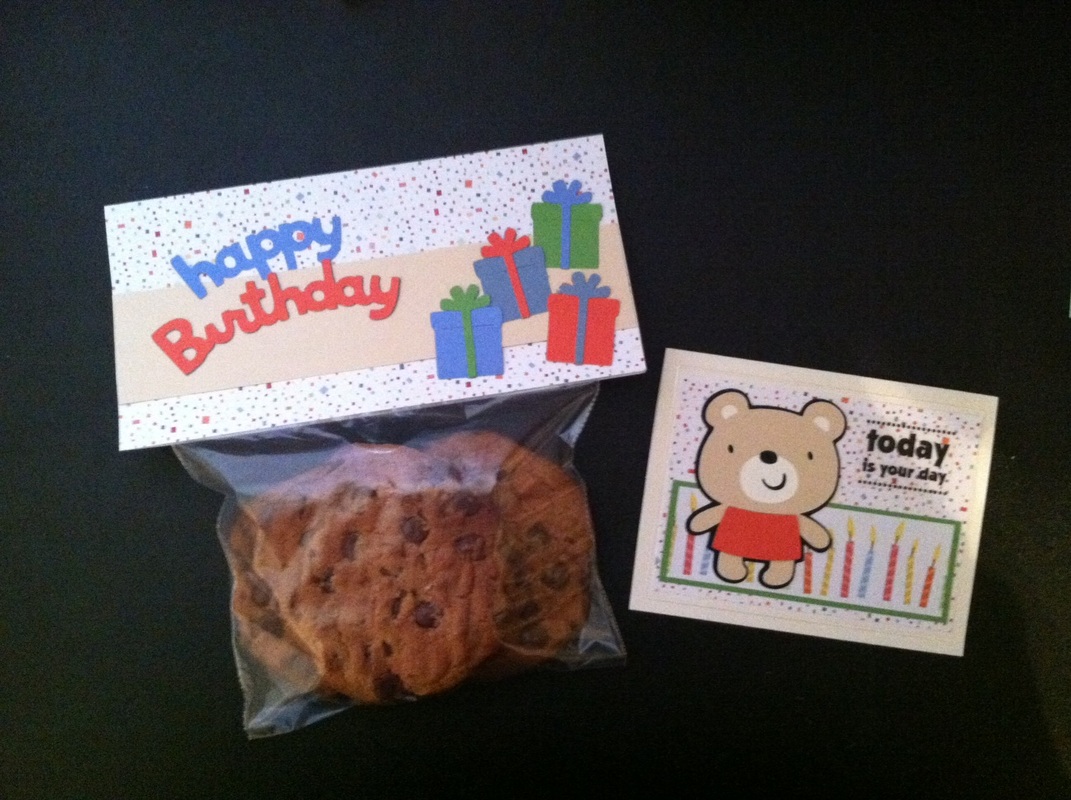 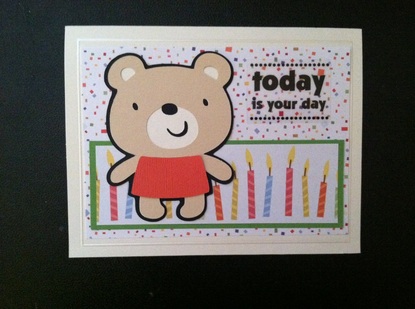 I found myself needing a quick birthday card and gift; so, I turn to my scrapbook room for inspiration. Using an unused blank card that I had, I made a quick birthday card; I think it took me 30 minutes total to make both the card and the gift. I cut out all the pieces, using my cricut, which included the bear, the gifts, and the happy birthday title. Then it was as simple as cutting the pattern papers and gluing it all together. Materials used (Card): Paper: Celebrate collection by Jacqueline Addison Bear: Cricut Create a Critter Sticker: Today is your Day - Colorbok 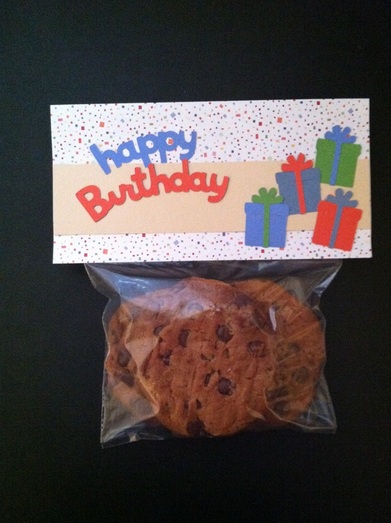 My son, wanted to give some of the peanut butter chocolate chip cookies that we made as a gift. This little topper was easy enough to make. I took a piece of 8x8 paper, and folded it in half, and attached a piece of cardstock to the back side of what would end up being the front, just to make it a little more sturdy. Next I attached a piece of cream colored cardstock, the happy birthday title, and the gifts. To finish it off, I put the cookies in a Ziploc bag, and taped the topper on the inside, then folded it over and secured it with a couple of staples, just to make sure it didn’t come off. A cute, simple gift, that only took a few minutes to put together.
Materials used (Topper): Paper: Celebrate collection by Jacqueline Addison Title and gifts: Cricut Create a Critter |
 
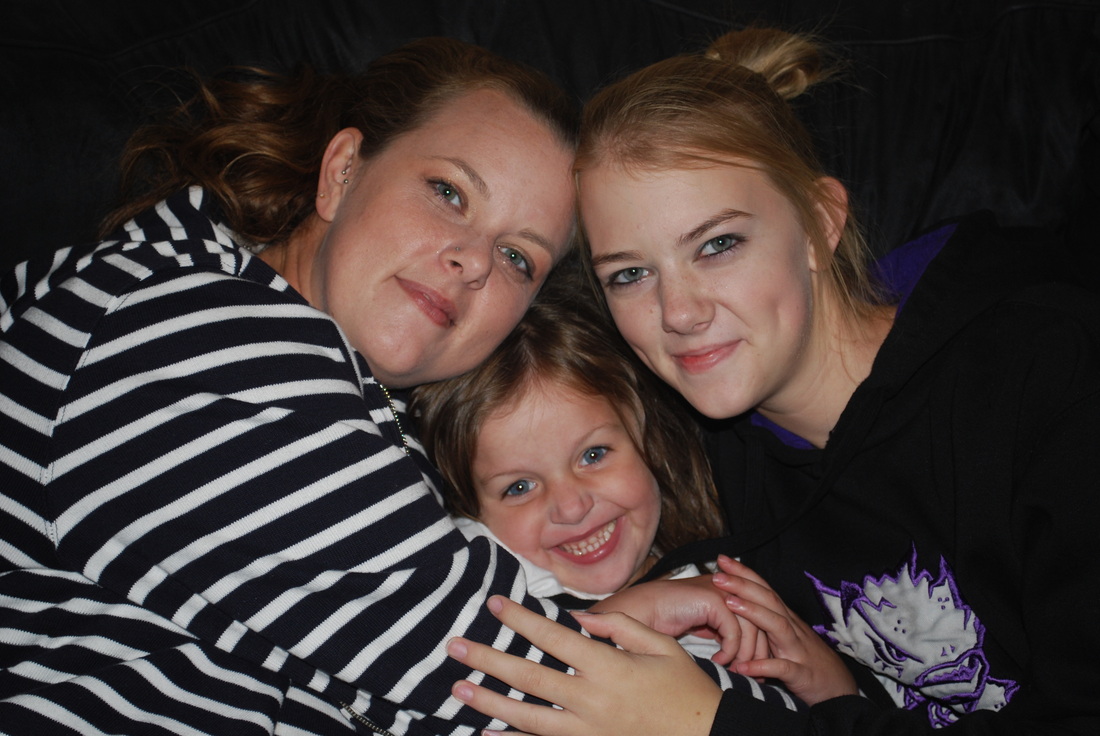
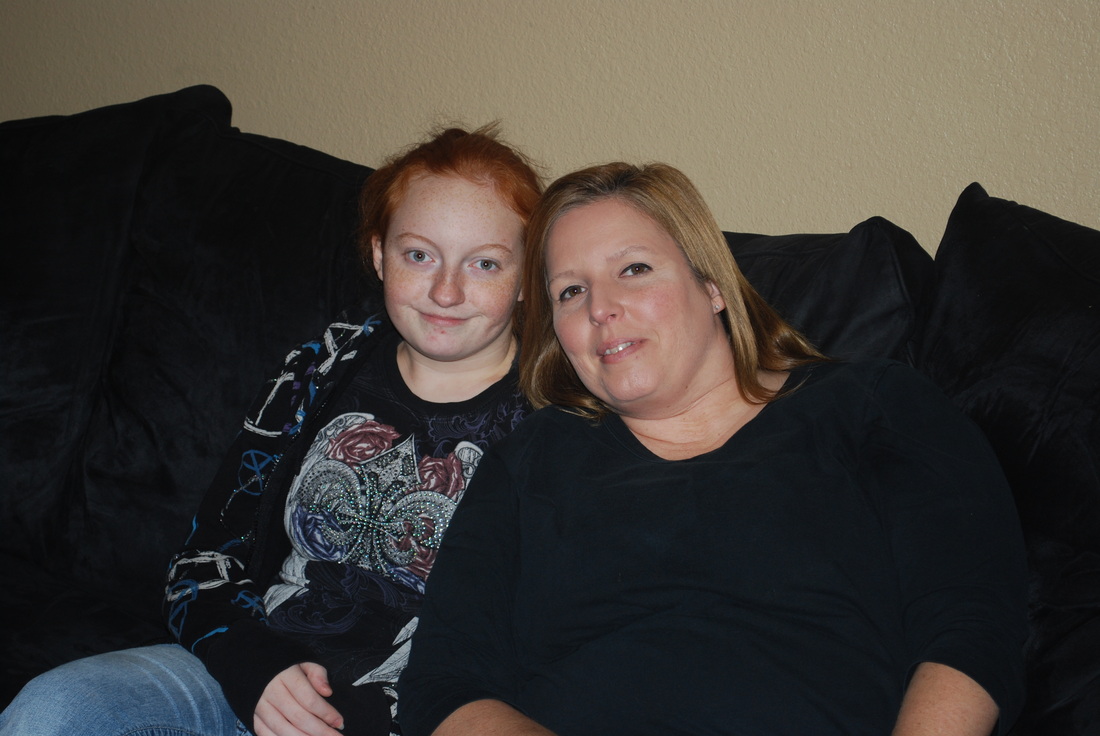
JoNeita & Dallas - Dec. 2021
About MeMy name is JoNeita Kelly and I have been crafting for at least the last 20 years. I live in Forney, Texas with my son, Dallas. I am a High School teacher and Cheerleading Coach. I love to craft and to continue to improve my photography and editing skills whenever I have free time. What I love most is telling our story using pictures, it is the most important gift I can leave my family. 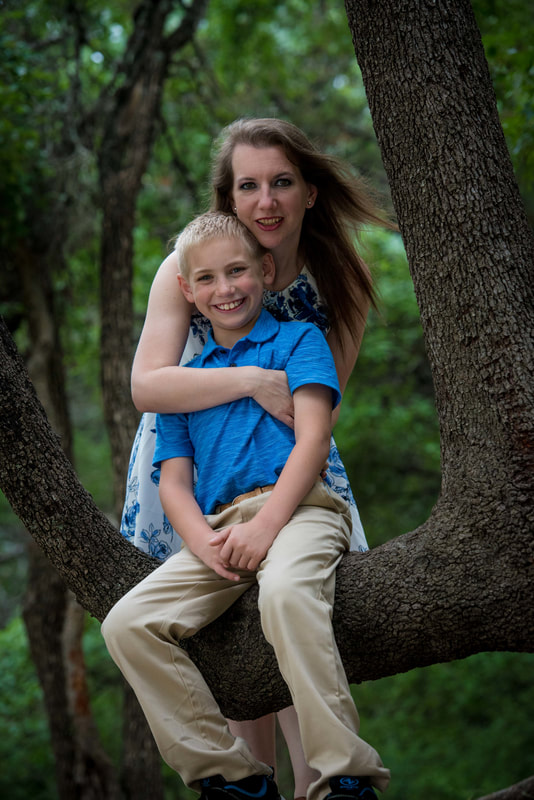
Photo by Steven Mackie Photography.
Categories
All
Archives
December 2021

Former Design Team Member for Fantabulous Cricut Challenge Blog
 |


 RSS Feed
